
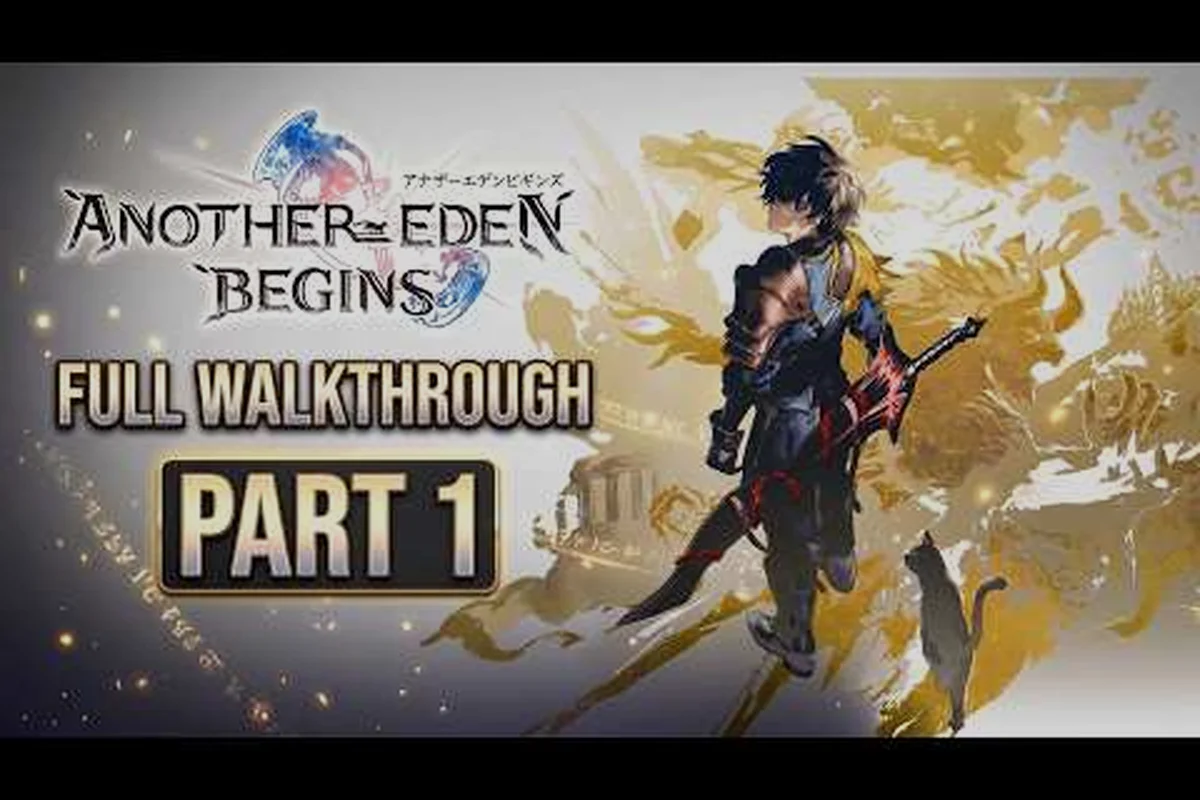
Stepping into Another Eden Begins for the first time can feel overwhelming because the game spans three distinct historical eras, dozens of recruitable companions, and a command-based battle system that rewards planning over button mashing. This Another Eden Begins full walkthrough guide breaks the opening saga into clear, navigable beats so you always know where to go, which boss to prepare for, and which choices shape the story.
The 2026 re-release launches globally on September 17 across Nintendo Switch, Nintendo Switch 2, and Windows via Steam, with enhanced 4K visuals and 60 FPS support on the Switch 2 Edition. According to the official Another Eden Begins website, the game still leans on its 18 companion roster and the Another Force gauge, so the walkthrough below assumes you are starting fresh with no imported save data from the mobile original.
Prologue and Chapter 1 Walkthrough: The Industrial Era
The opening chapter of this Another Eden Begins chapter 1 walkthrough is short on purpose — it is designed to teach the battle system before unleashing the time-jump mechanic that defines the rest of the campaign. You begin as Aldo, a young man from a quiet village, and the first dungeon is little more than a tutorial in disguise.
Early Battles and the Command System
Every encounter uses a command-based turn structure where each character picks a role for that round: Attacker, Supporter, or Healer. According to the Steam store page, filling the Another Force gauge by chaining these roles lets your party strike without enemy retaliation, which is the single most important combo to learn in chapter 1.
| Role | Primary Use | When to Pick It |
|---|---|---|
| Attacker | Damage output | Enemy has low HP or you are building the AF gauge |
| Supporter | Buffs and debuffs | Enemy buffs are active or a teammate is low on HP |
| Healer | Restore party HP | Two or more allies are below 50% health |
Sticking to that rhythm lets you clear the Toto Dream village, the Mondo Mines, and the Industrial Dungeon without burning through items. Save your gems for reviving downed party members; do not waste them on quick-heal consumables during the first hour of play.
Boss Strategy: Fang
The first real wall in the Another Eden Begins main story walkthrough is the Fang encounter at the end of Mondo Mines. He hits hard but follows a predictable pattern: a two-hit claw combo followed by a one-turn charge-up. Use a Supporter to drop his attack, a Healer to top off anyone below 40% HP, and save your Another Force burst for the moment he starts his charge.
Chapter 2 Walkthrough: The Present-Day Arc
Once Aldo returns to his own time, the pace of the Another Eden Begins chapter 2 walkthrough picks up dramatically. You will unlock two new party members, gain access to the world map, and face your first multi-phase boss.
Recruiting Mariel and Raven
After the Garulea Continent opens up, head to the Mare Forest to recruit Mariel, then progress the main questline until the Ogre Wars event triggers. Raven joins automatically during the story sequence, so do not skip the cutscenes — his recruitment flag is tied to chapter 2 progression.
Boss Strategy: Ogre Boss
The Ogre Boss encounter in Another Eden Begins is the first real checkpoint that punishes players who ignored the role system during Chapter 1 progression. He opens with a party-wide debuff (a 20% ATK/INT reduction that lingers for 3 turns), then alternates between a single-target smash that can one-shot a Defender below 1,800 HP and a self-heal that restores roughly 30% of his maximum HP if not interrupted. Because his rotation is fully telegraphed, the correct response is to assign a Healer and two Supporters to cleanse the opening debuff, then hold your Another Force (AF) bar for his heal turn — this is the only moment the Ogre Boss is vulnerable to a full burst chain, and delaying even one turn means restarting Phase 3.
| Phase | Opening Move | AF Window | Recommended Finish |
|---|---|---|---|
| 1 (100-70% HP) | Party-wide debuff | Build with Supporters | Standard attack rotation |
| 2 (70-30% HP) | Single-target smash | Burst on his smash turn | Healer up before AF |
| 3 (30-0% HP) | Self-heal | Burst immediately | Skip buffs, chain attackers |
Burn the AF bar the moment he uses the self-heal, because every turn you delay gives him another free 30% HP recovery and lets his Phase 3 rotation loop back to the party-wide debuff, which then stacks with the un-cleansed ATK/INT debuff from Phase 1 and pushes your Defender's effective HP threshold from 1,800 to roughly 2,150. If your burst chain can't close the remaining 30% in one AF window, swap in a third Attacker instead of a Healer so the chain length reaches 5 hits, which is the minimum needed to outpace his 30% heal threshold.
Chapter 3 Walkthrough: The Antiquity Era
The final leg of the Another Eden Begins chapter 3 walkthrough is the most story-dense, and it is also where the time-jump mechanic stops being a novelty and becomes the entire point of the game. Aldo travels thousands of years into the past to face the cause of the temporal distortion.
Key Story Choices
Chapter 3 forces you to make one branching decision near the Snake's Bone Altar: you can either trust the Oracle or investigate the Forbidden Library first. The choice does not lock you out of any ending, but it does change the order in which you fight the final two bosses. Going to the Forbidden Library first unlocks an extra support character — Krervo — who makes the final boss much easier.
Final Boss Strategy: The Outer Beast
The Outer Beast is the hardest fight in the opening saga, and unlike Chapter 1's Ogre or the Chapter 2 dual-boss gauntlet, it tests your ability to manage three layered mechanics on a fixed turn clock rather than raw damage output. Each mechanic punishes a different mistake: misreading the turn counter, blowing your Another Force (AF) too early, or letting your party's HP drift below the safety line before the 20% threshold.
-
Temporal Shift: every fourth turn it rewinds your party to full HP and resets the AF gauge, so you need to land your burst within a three-turn window.
-
Phase Transition: at 50% HP it sheds its shell, gaining a permanent attack buff but losing its heal.
-
Enrage: at 20% HP it chains three AoE attacks in a row, which can one-shot any squishy party member who is not topped off.
The recommended approach is to bring two healers, stack attack debuffs in phase 1, and pop AF right after the shell breaks so you skip the enrage entirely. Players who cleared the main story walkthrough for chapters 4 and beyond report that the same healer-heavy composition still works through the post-game content.
Battle System Reference and Party Building
Beyond the chapter-by-chapter path, this Another Eden Begins full walkthrough guide also serves as a quick reference for the battle system because every chapter reuses the same command framework. Knowing the role interactions cold is what separates a smooth clear from a frustrating retry loop.
| System Element | Effect on Battle | Best Practice |
|---|---|---|
| Another Force gauge | Fills by 1 per role action, max 99 | Burst when all enemies are debuffed |
| Type weakness | Doubles damage, fills AF faster | Check the enemy's type before engaging |
| Equipment slots | One weapon, one armor, one accessory | Replace gear every two chapter beats |
| Companion quests | Unlock passive skills and stat boosts | Clear them between major bosses |
According to the Nintendo eShop listing for the Switch 2 Edition, the game ships with full controller support, so if you are playing on PC or Switch 2, map the AF burst to a shoulder button — it removes almost all of the timing pressure from the harder boss fights.
Optional Content and Post-Game Hooks
Clearing the three-era main story does not end your save file. The r/AnotherEdenGlobal community reports that finishing chapter 3 unlocks the Kinship system, a series of character-bonding quests that grant permanent stat boosts to whichever companion you pair with Aldo. The community hub also tracks ongoing free serial codes released through the official website, so it is worth checking the redemption portal after every major patch.
Players who want a longer view of the story can follow up with the walkthrough for chapters 8 through 11, which covers the Ogre Wars epilogue and the first set of post-game dungeons. Each new chapter reuses the same role system, so the habits you build in the opening three eras carry over cleanly.
| Post-Game Unlock | How to Get It | Why It Matters |
|---|---|---|
| New Game+ | Clear all three eras once | Carry over gear, replay with harder bosses |
| Companion Episode 1 | Recruit all 18 companions | Unlocks the second Another Force art |
| Hidden Dungeon: Snake's Liver | Solve the altar puzzle in chapter 3 | Best accessory farming spot in the game |
| Ultimate Boss: Ogre Wars | Finish NG+ on Hard | Required for the platinum trophy on PS-style achievements |
Frequently Asked Questions
How long does the Another Eden Begins full walkthrough take to clear?
Most players finish the three-era main story in roughly 18 to 22 hours when focusing only on required objectives, according to community completion data on r/AnotherEdenGlobal. Chasing every companion quest and hidden dungeon pushes the run closer to 40 hours, which is normal for a JRPG of this scope.
Can I play Another Eden Begins chapter 2 walkthrough content without finishing chapter 1?
No — the second era does not open until Aldo returns from the industrial-era dungeon, and the world map stays locked until the Fang boss is defeated. The game forces the linear path because every later chapter assumes you understand the role system from the tutorial fights.
What level should my party be for the final boss in the chapter 3 walkthrough?
The community-recommended baseline is level 28 to 32 for Aldo plus your two recruited companions, with at least one piece of equipment upgraded at the Elzain blacksmith in the present-day hub. Going under level 25 makes the Outer Beast's enrage phase a hard wall, even with the right strategy.
Does the Another Eden Begins main story walkthrough change based on my party picks?
The story itself is fixed across the three eras, but the boss difficulty scales with your weakest party member's level, so swapping in a fresh recruit right before the final fight is a common trap. The game does have one minor branching scene in chapter 3 where trusting the Oracle changes the order of two side dungeons, but it does not alter the ending.
Are the Switch 2 and Steam versions of the walkthrough the same?
The chapter structure, boss mechanics, and story beats are identical across all three platforms that launched on September 17, 2026. The only differences are cosmetic: the Switch 2 Edition runs at 4K and 60 FPS, while the base Switch and Steam versions target 1080p and 30 FPS. Save data is not cross-compatible, so pick one platform and finish the run there.